OVERVIEW
Checklists allow you to track various items within specific events, such as To-Do’s and Projects. These lists can be one time on-the-fly type checklists or pre-populated lists associated with Assignments and Projects.
USER GUIDE
SETUP
There are no time cards or direct alerts related to the checklists so it is not recommended to use them for time sensitive or staff specific items. However, under Setup>My Company >Information and Settings>Contacts there is an option called “Require Checklist Items to be Complete Before Task Completion”.

This will allow you to lock the event from completion unless all checklist items have been marked complete, which will ensure that the items you are tracking within your checklist are accounted for.
TO-DO’S/CALLS/APPOINTMENTS
You will find the General checklist icon within the To-Do’s, Calls and Schedule tab. This Checklist is a one time use and cannot be pre-populated. The icon will appear grayed out unless checklist items have been entered, if items do exist it will be displayed in color.
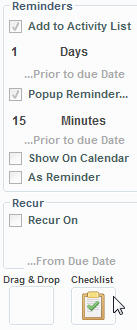
Simply click on the icon to access the list and to populate the desired checklist. As is consistent with most of WorkSpace, there is no save button. Just close the window once you are done populating your checklist.

PROJECTS
Project Checklist allow you to pre-populate a specific list of items that will be associated to a specific project type upon its creation. To assign a standardized checklist for a particular project type, go to Setup>Projects>Project Definitions.
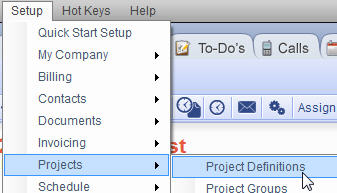
Select the desired project type and click edit. Once there go to the “Checklist Options” tab.
In true WorkSpace fashion, there will be two lists; one on the left that displays all of the available checklist items you’ve created. On the right are the checklist items that have been assigned to the Project specifically. Thus, to create a custom checklist add the desired items from the left to the right using the add button.
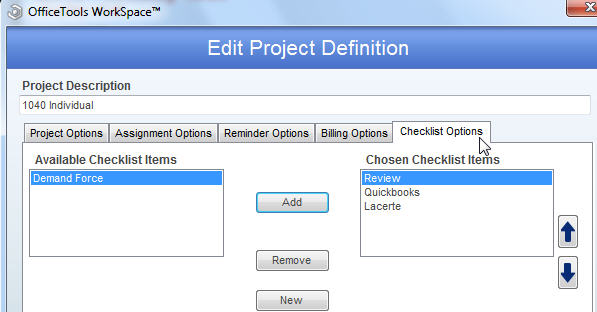
If you need to create new available checklist items, there is a “New” button that when clicked will allow you to create any checklist item that is needed. While there is no limit to the amount of items that can be populated into this list, it is recommended that you keep this list reasonable to your firm.
ASSIGNMENTS
Assignment checklists allow you to associate a specific item list to an assignment within a project. This checklist can then be accessed from within the Worklist/Budget for a project, or from the activity list by right clicking the assignment reminder and selecting “View Checklist”.
To populate a standardized checklist for a particular assignment within a project, go to Setup>Projects>Project Assignment Groups. Next, select the project from the drop down in the upper left and within its Chosen Assignment Description list on the right, highlight the desired assignment. Click the checklist icon on the right-hand side of the window.
This will bring you to a very similar window described above. There will be two lists, one on the left with all the available checklist items, and one on the right that shows the checklist items that have been assigned to this specific assignment. Move an item from the left to the right to associate it to the chosen assignment.
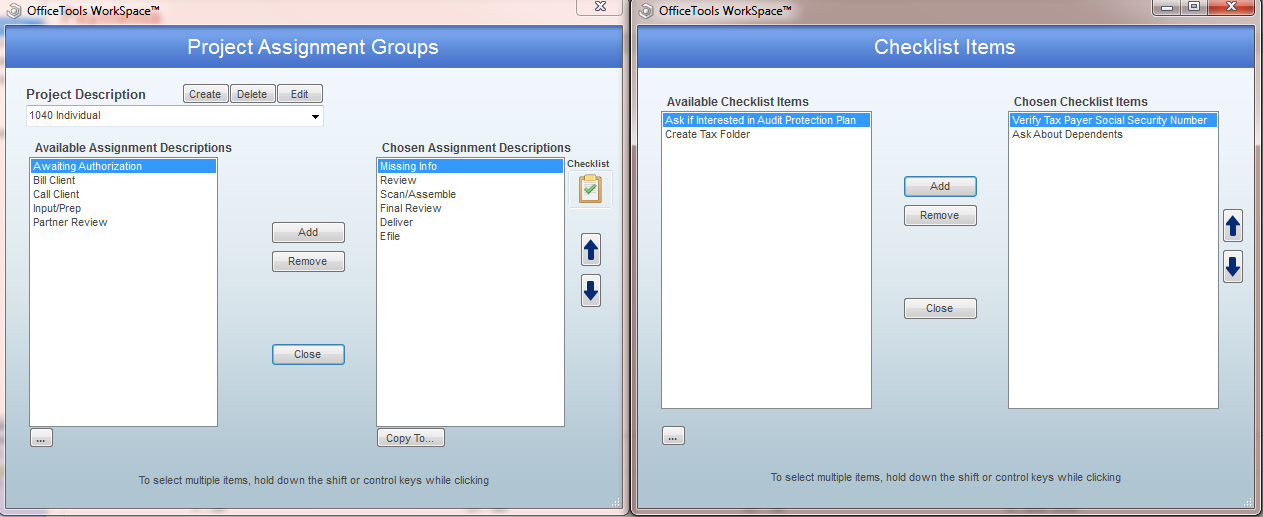
If you need to add to the Available Checklist Items list, you will need to click on the ellipsis button in the bottom left hand corner. This will allow you access to edit the master list of checklist items.