OVERVIEW
Deposit slips can be created for payments entered for a client directly from within WorkSpace. The following user guide describes the initial setup and creation of deposit slips.
USER GUIDE
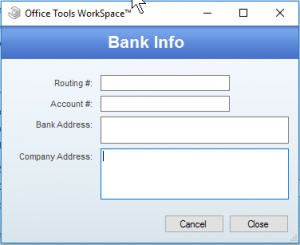
Before printing deposit slips, banking information must be setup. Navigate to Setup>My Company>Information & Settings>Bank Info
Fill out the Bank Info window with your companies Routing Number, Account Number, Bank Address, and Company Address.
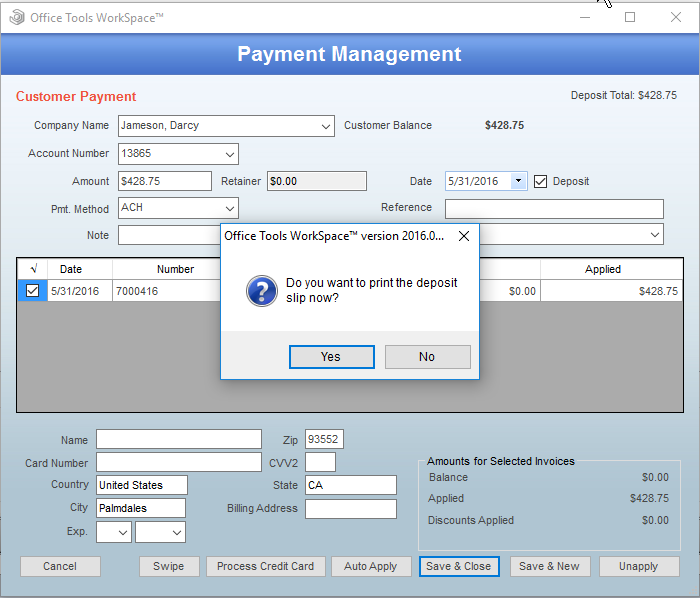
When creating payments for which a deposit slip will be made for, enable the Deposit checkbox. After clicking Save & Close, WorkSpace will ask “Do you want to print the deposit slip now?” which you can click yes and the Deposit Management window will pop up, or you can click no and access the Deposit Management window at a later time by navigating to the Deposits button on the Payments view toolbar of the Billing tab.
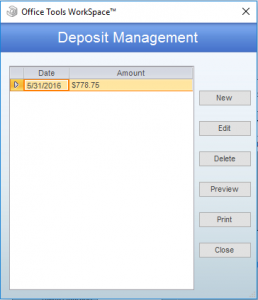
In the Deposit Management window, you can create a new deposit slip or edit an existing one by clicking on the respective button, which will bring up a new window to add or remove payments to the deposit slip.