OVERVIEW
The Kiosk features of Office Tools WorkSpace Portal include Client Check-in and Questionnaires. These will need to be configured prior to use.
USER GUIDE
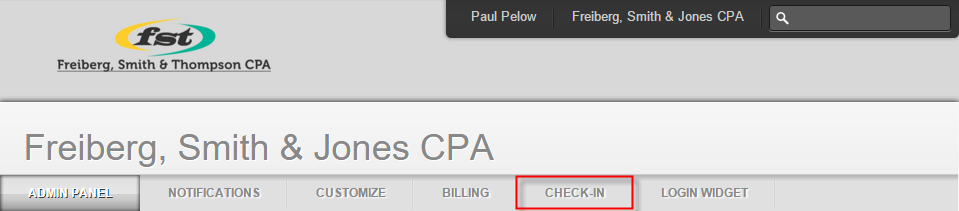
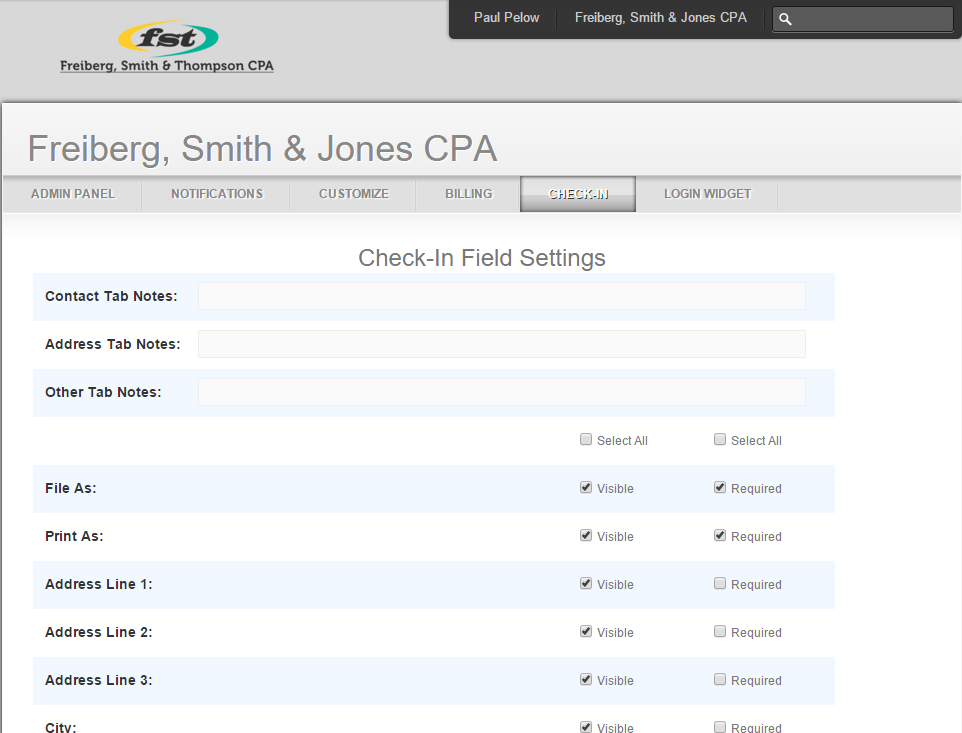
When your clients check-in, you have the option of allowing them to update their contact information. To configure this, log in to WorkSpace Portal, hover over your staff name, go to Settings, and select the “Check-In” tab.

These fields can be made available by checking “Visible,” and you may also require the client to ensure that a value exists by checking a field as “Required.” Your clients will see these fields show up in three successive tabs. If you wish to include general information or directions for your clients on each of these tabs, please use the Notes fields at the top of this page.
You may want to be notified when your clients check in, complete questionnaires, or update their information. To configure these options, go to the Notifications tab. The three options are labelled “Client Check-In,” “Client Information Updated,” and “Client Questionnaire Completed.” You can set up notifications by email, AIMI, or both.

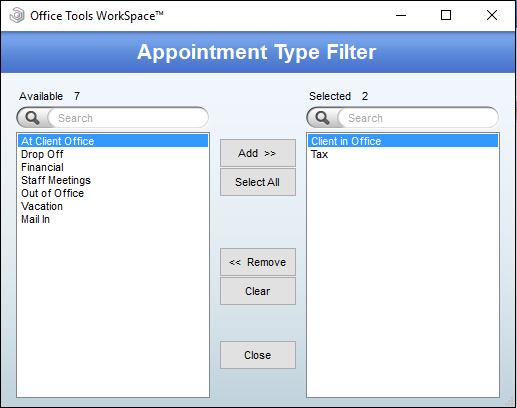
To control which appointments are available for check-in, you will need to log in to WorkSpace. Navigate to the Setup > My Company > Information & Settings menu > Integrations button > Portal tab. The “Show only selected appointment types” option will allow you to restrict client check-in to the selected appointment types.
You can also provide a questionnaire for your clients during the check-in process. To set these up, you will need to log in to WorkSpace. Navigate to the Setup > My Company > Information & Settings menu > Integrations button > Portal tab. Then, use the “Add or Edit Questionnaires” button to access your questionnaires. This will open the Questionnaire Editor.
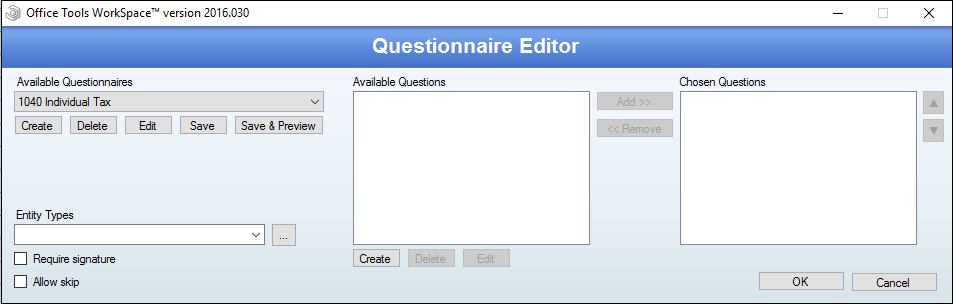
Here, you will be able to create new questionnaires or manage existing ones. When you are beginning, you will need to create a new questionnaire by clicking the “Create” button below the Available Questionnaires list. Name your questionnaire and click “OK.”

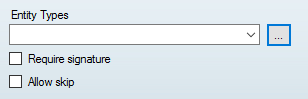
If this questionnaire will only apply to specific entity types, select these types from the list in the bottom left corner. You also have the option to require a signature from your client and allow them to skip the entire questionnaire.
Questionnaires are built by adding questions from your list of Available Questions. This list is not specific to this particular questionnaire and will be available to add to any other questionnaire. The Chosen Questions will be the questions which the client will receive on this specific questionnaire.
To add questions to your database, click the Create button below the Available Questions list. This will ask you to name your question and then open the Question Editor.

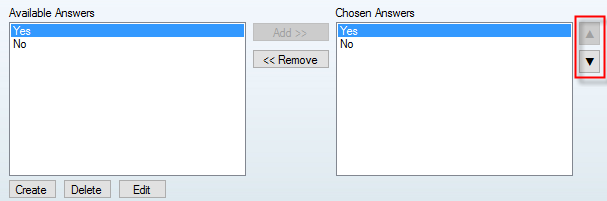
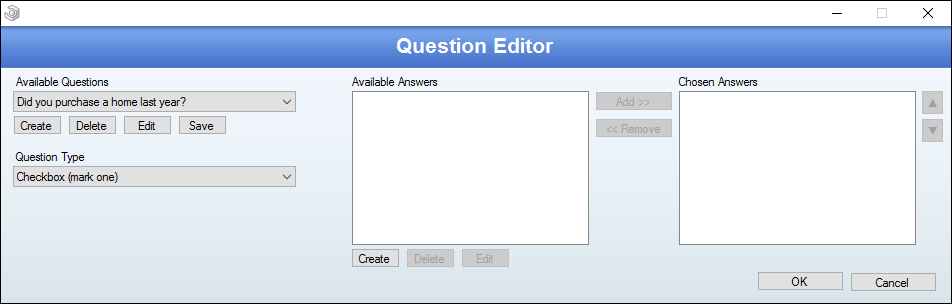 In the same manner that questionnaires are built with questions, questions are built with answers. The Available Answers is a list which is shared with all questions. To create an answer, click the Create button below the Available Answers list.
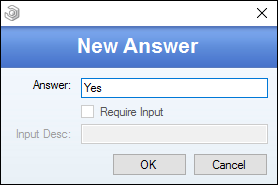
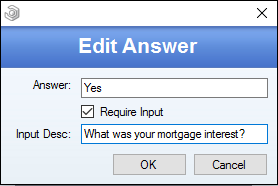
When you have created an answer, you will be able to add it to your Chosen Answers for the current question. Adding the answer will allow you to select whether or not to “Require Input.” This will require your client to enter a reason for this specific answer. You can give your client directions by entering them in the “Input Desc” field.
In the event that you need to reorder your questions or answers after you have added them to your questionnaire or question, you can use the arrows at the right of your chosen items to move them up or down the list.
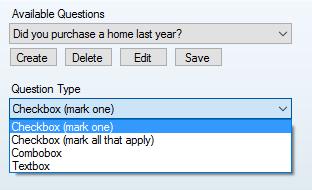
You can also change the type of question by selecting from the Question Type menu to the left.
– Checkbox (mark one): Allows one selection to be made at a time from a list of options
– Checkbox (mark all that apply): Allows multiple selections to be made at a time from a list of options
– Combobox: Allows one selection to be made from a combobox list. The difference between this and Checkbox (mark one) is that a combobox’s selected value is the only visible value until you click on the combobox.
– Textbox: Requires user input
When you have created your questions, you will also need to add them to your questionnaire. These questions can also be reordered by using the arrows on the right once they have been added.
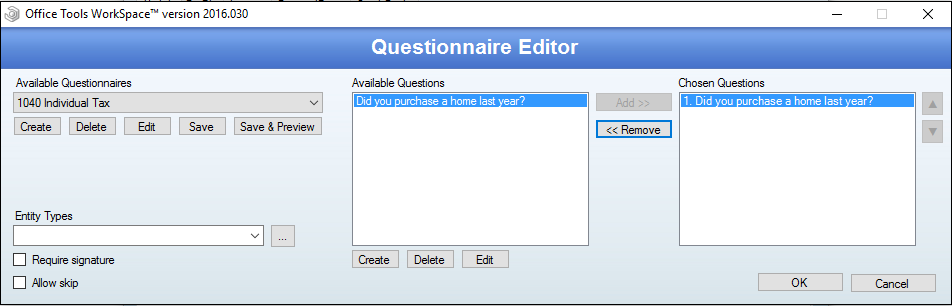
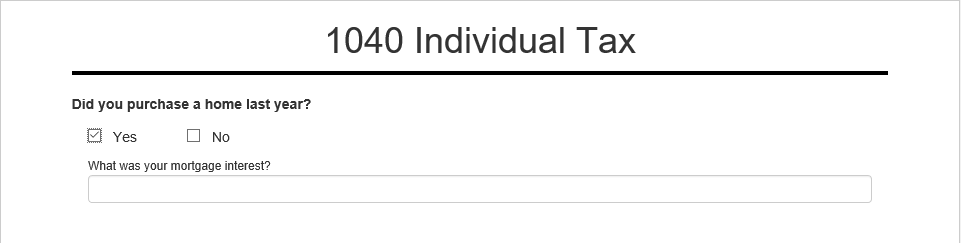
After you have built your questionnaire, you can preview it by clicking the “Save & Preview” button. This will launch your web browser and allow you to interact with the questionnaire as a client would.
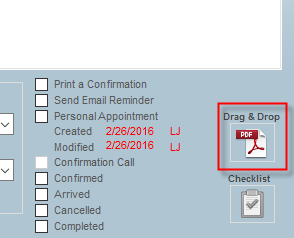
Questionnaires will be saved to your client’s appointment when they have completed it. To access it, go to the appointment’s Drag and Drop box.