OVERVIEW
When you have enabled the Schedule Tab in WorkSpace Portal, your clients will be able to access a portal calendar to request appointments. Only staff which have Portal Availability will be visible to clients.
USER GUIDE
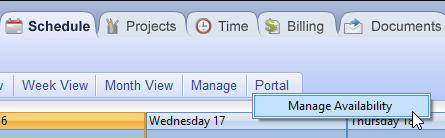
Before your clients can request appointments, you will need to set up Portal Availability in WorkSpace. Go to the Schedule tab, click on the Portal button in the toolbar, and then click “Manage Availability.”
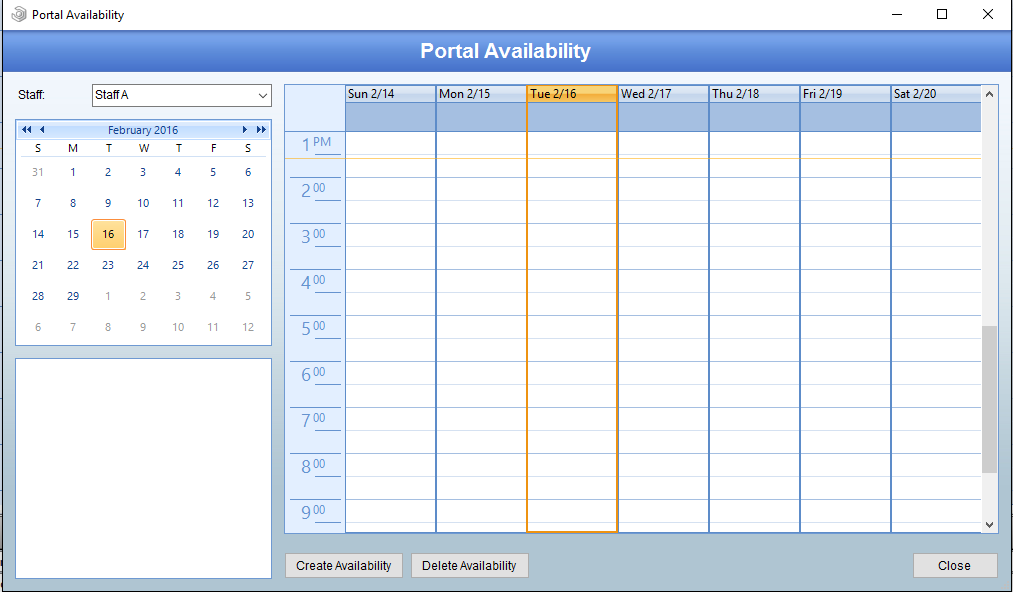
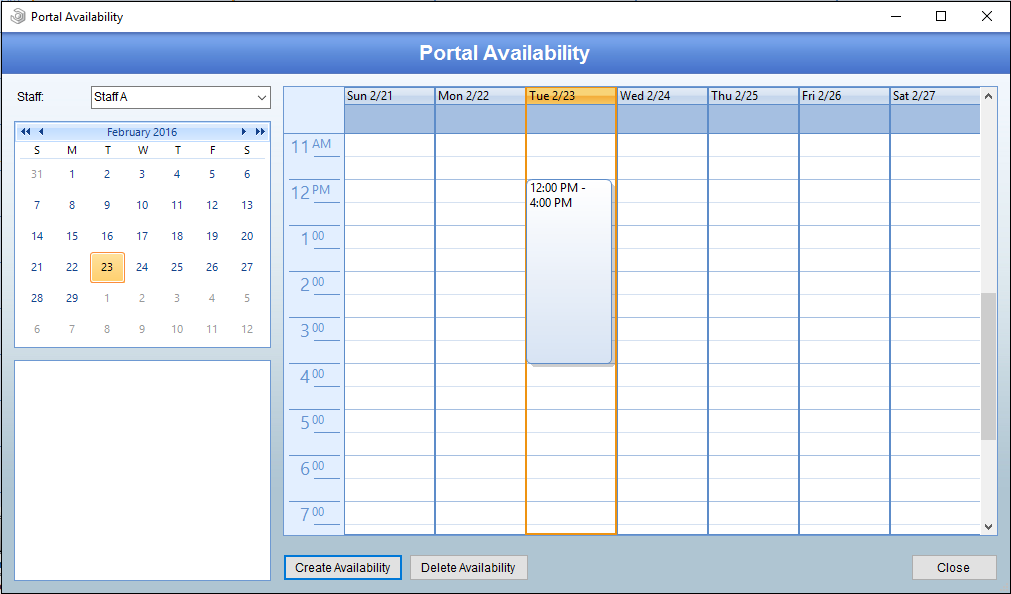
This will open up the Portal Availability tool. From here, you can manage a staff member’s availability and review the availability that has been set up so far. To create availability for a staff member, select them from the menu in the top left of this screen and then click Create Availability at the bottom.
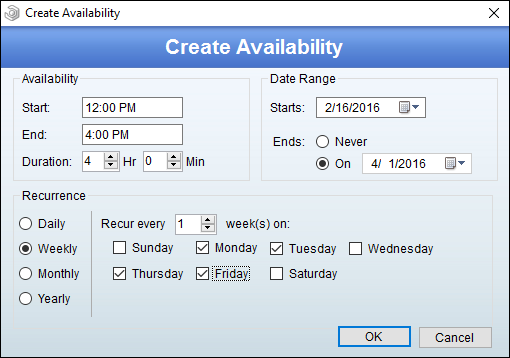
 Creating availability here will make the staff member available for schedule requests from your clients via WorkSpace Portal. Enter the time and length of this window in the “Availability” section. Then, determine when this will start and end in the “Date Range” area. Finally, set up the repeating options under “Recurrence.” The details of the recurrence will change based on the period you select.
 After you commit these changes by clicking “OK,” you will have availability which will show up in the WorkSpace Portal Schedule Tab.
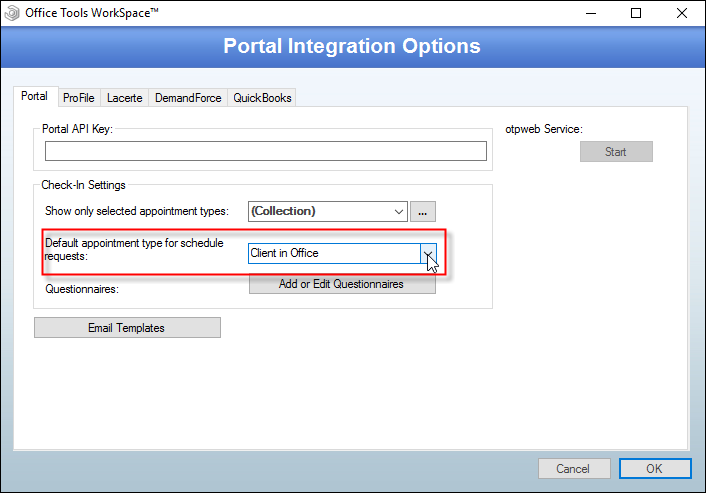
 Since all appointments in WorkSpace have an appointment type, you will want to set up a default for appointment requests. You can set this default by going to Setup > My Company > Information & Settings > Integrations button > Portal tab. You will want to select a type from the “Default appointment type for schedule requests” menu. When your clients log in and request an appointment, this is the type which will be assigned automatically.